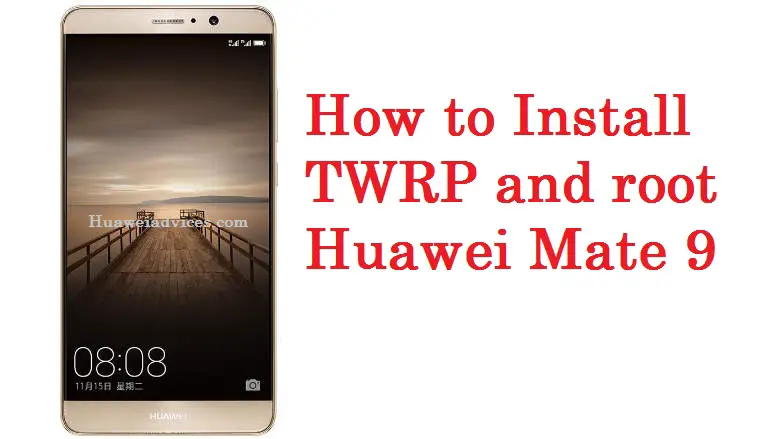
Rooting of Android smartphones has become much important these days to make the device most of it. It unlocks numerous possibilities for your device like installation of root-only apps, custom ROMs, unlock hidden features, boost your phone’s speed and battery life, block ads in any app, remove preinstalled apps, and much more. If you’re Huawei Mate 9 users and wanted to gain root access, then you are at the right post. Here we have shared complete tutorial on how to install TWRP Recovery and Root Huawei Mate 9.
Huawei Mate 9 with a 5.9-inch display is one of the best choice for media lovers. Users just need to setup ADB & Fastboot drivers on PC and then flash the TWRP image file using fastboot commands. Once done, you can simply installed SuperSU .zip file through TWRP recovery. Before starting, make sure to prepare your Huawei Mate 9 for rooting process by fulling the below requirements. Also Download EMUI 5.0 Theme for Huawei phones
Early preparations:
- The following rooting tutorial is meant only for Huawei Mate 9. Don’t try on any other Huawei model.
- Enable USB Debugging from device Settings. To do so, go to Settings > About phone > Build number and tap it 7 times to enable Developer option on your phone. Then go back to Settings > Developer Options and enable USB Debugging mode.
- Setup Minimal ADB and Fastboot drivers on your PC.
- Install Huawei Mate 9 USB Drivers on your computer.
- Unlock bootloader of your device (Complete guide).
- Backup all your data to a safe location.
- Charge your device well enough before starting the rooting process.
Disclaimer: Huawei Advices should not held responsible for any damage occurs to your device during or after the rooting process. Continue at your own risk.
How to Install TWRP Recovery & Root Huawei Mate 9:
1. Download TWRP Recovery image file from the following link and rename it to recovery.img. Now you need to place the file to the same folder where you have extracted ADB and Fastboot folder on your PC.
2. Download the SuperSU.zip file and save it to your device’s internal storage.
3. Go to ADB and Fastboot folder and open a command prompt. To do so, you need to press Shift + Right click on any empty space inside the folder and choose Open command window here from the context menu.
4. Take a USB cable and connect the device with PC. Boot into Bootloader mode by giving the following command –
adb reboot bootloader
5. Given another command to confirm the connection between your Huawei Mate 9 with PC.
fastboot devices
If your device is detected, you should see a serial number as output.
6. Now, give the following command to flash TWRP Recovery image.
fastboot flash recovery recovery.img
7. Once the flashing process is completed, you need to give the below command to reboot the device.
fastboot reboot
8. That’s it! You have successfully flashed TWRP recovery on your Huawei Mate 9 smartphone. In order to boot into TWRP recovery, give the below command.
adb reboot recovery
9. Now, the device boots into TWRP recovery mode. From main menu, select Install > SuperSU zip file which earlier you have saved to device storage and confirm.
10. Reboot your device.
So, that’s the simple guide on how to install TWRP and Root Huawei Mate 9. If you have any queries regarding the above procedure, do let us know in the below comment box.