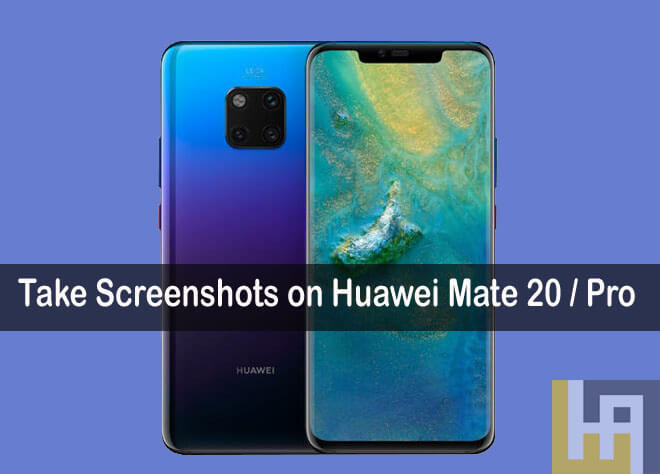
Huawei Mate 20 and Mate 20 Pro are the Huawei’s latest generation of flagship smartphone in the ‘Mate 20’ series. These devices pack with powerful hardware which promises extreme performance to the device. In case, if you have already purchased a Huawei Mate 20 device and looking for a guide to take screenshots, then you’re at the right place. Here we have a step-by-step guide on how to take screenshots on Huawei Mate 20 / Mate 20 Pro.

Like other Huawei models, the Huawei Mate 20 series devices also run on EMUI skin topped on Android 9.0 Pie OS. Thanks to this extra UI layer, the company is providing some unique features that are otherwise missing in the stock Android OS. For example, the Huawei devices powered with EMUI skin has more than one method to capture the device screen. Users can choose either from hand-gesture or a hardware buttons or a simple notification toggle.
Without much ado, check out the below steps to take screenshots on Huawei Mate 20 / Mate 20 Pro devices.
Related: How to Take Long Screenshots on Huawei Phones
How to Take Screenshots on Huawei Mate 20 / Mate 20 Pro
There are three different methods you can follow in order to capture the screen of your Huawei Mate 20 series smartphone. Choose the one which you find it simplest.
Method 1: Take Screenshots using Hardware buttons
This is one of the oldest and widely used methods in order to take screenshots on an Android-powered smartphone. Just follow the below steps to take one right now on your Huawei Mate 20 / Mate 20 Pro device:
1. Select the screen whose screenshot has to be taken.
2. Now you need to press and hold the Power and Volume Down buttons together.
3. Hold these buttons until you hear a shutter sound. That sound confirms that the screenshot has been taken.
4. Go to stock Gallery app to access the screenshot image.
Method 2: Take Screenshot using Notification Center button
1. Here is the step-by-step procedure on how to take a screenshot on Huawei Mate 20 Pro using notification center pull down.
2. Select the screen whose screenshot has to be taken.
3. Swipe down the notification tray on Huawei Mate 20 to get the Screenshot button.
4. Tap on Screenshot button.
5. That’s it. The phone will automatically close the notification pull-down and captures what’s being displayed.
Method 3: Take Screenshot using Three Finger Swipe gesture
EMUI 9 is the company’s latest custom skin based on Android 9.0 Pie OS. This ROM packs with several new features and gesture support. One of such gesture support into this operating system is Three Finger Swipe gesture. Use the below steps to take screenshots with this gesture.
1. Firstly, you need to activate the gesture from Settings app > Smart Assistance > Motion Control and then select Three-finger Screenshot.
2. Toggle-on the button to enable this gesture.
3. Close the settings app and head to the screen which you want to capture.
4. Finally, swipe down three fingers on the screen.
5. That’s it! Go to stock Gallery app to access the screenshot image.
You may also like –
- How to Reset Huawei Mate 20 / Mate 20 Pro to Factory Settings
- How to Root Huawei Mate 20 Pro via Magisk [No TWRP Needed]
- Download Huawei Mate 20 and Mate 20 Pro Stock Firmware [All Versions]
- How to Unlock Bootloader on Huawei Mate 20 and Mate 20 Pro
I hope the above tutorial was helpful in taking screenshots on your Huawei Mate 20 / Mate 20 Pro smartphone. Do check out our EMUI section for more such tips, tricks, and other useful tutorials.


