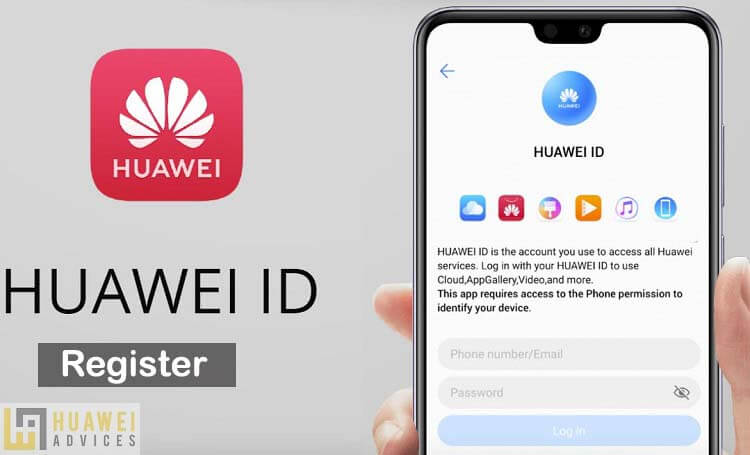
Brought a new Huawei or Honor smartphone? Then you might already come across the Huawei ID. Huawei ID, which is also known as Huawei Mobile Services is a special service introduced by Huawei to its smartphone users. Here we have shared a step-by-step guide on how to register for a new Huawei ID.
What is a Huawei ID and why do I need one?
Register for a Huawei ID to access Huawei services, including HiCloud, Themes, vMall, HiCare, and HiGame. Some Huawei services are not available in all countries and regions.
After creating a Huawei ID, one can log in to the account and start using the services all around the world that has an internet connection. However, Huawei services vary from region-to-region.
So, if you recently purchased a new Huawei or Honor smartphone and looking for a guide to creating a Huawei ID. Then, there is no need to look around as we have a detailed tutorial on a new Huawei ID registration.
How to create a new Huawei ID
One can register for a Huawei ID either on a phone or a computer. We have shared both the platforms for you.
Method 1: Register on your phone
1. Turn on your phone.
2. Go to Settings.
3. Scroll to Huawei ID and tap on it.
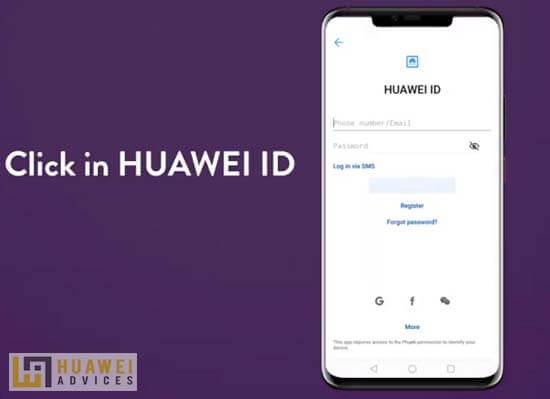
4. Click on Register.
5. Accept terms and conditions by tapping on “Agree”.
6. Choose your Country.
7. Again accept the user agreement.
8. Add your Birthday.
9. Enter your Email address and set a password for your Huawei account.
10. There you go! You will receive a verification email. Tap on the link to start using the Huawei services (Users can also use the mobile number for verification purposes).
11. Enjoy!
Related: Huawei ID FAQ – All you need to know!
Method 2: Register on your computer
This is another method through which one can register for a Huawei ID through a computer.
1. Firstly, go to Huawei website.
2. Here you will see two options: Register by Email and Register by Mobile.

3. For registration via Email address:
- Choose a country and enter your email address.
- Enter the verification code you receive.
- Configure a password.
- Accept the terms and conditions.
- Touch the button to complete registration.
4. For registration via Mobile number:
- Choose a country and enter a mobile number.
- Configure Password.
- Click on the ‘Send’ option under SMS code to receive a unique verification code.
- Accept the terms and conditions.
- Touch the button to complete registration.
Congratulations! You’ve successfully created a Huawei account. For any kind of queries or issues, feel free to comment below.


It might help to have a list of areas Huawei ID is available. Because my phone doesn’t have it listed at all — maybe because I’m in the USA?
I have followed all the processes but yet find it difficult to to register please help me